If you go down to the woods today, you're in for a big surprise.
If you do down to the woods today, you'd better go in disguise.
For every bear, that ever there was, will be there for certain because,
Today's the day that Teddy Bears have their picnic!
Last month it was Ryan and Sophie's first birthday. Yes, it has taken me that long to recover and blog about it.
There were a few things though, that made the party impressive, without going over the top, and I'd love to share them with you.
Firstly though, look how cute they are all grown up.
Hazaah! Onto the party.
PICNIC BLANKET

The first thing that I imagined a Teddy Bear's Picnic, was a gigantic picnic blanket. So, I set off to our local craft store and bought 5 meters of each, red and white gingham, and red with white dots fabric. They were the same weight of fabric and the reds matched perfectly. I thought that this would make a 5m by 5m square picnic blanket, but didn't take into consideration that the fabric width was 1.2m. Whoops. Maths and I never got along really.
Essentially, I cut each "square" out and sewed them together into rows first, dots, stripes, dots, stripes.
The stripe, dots, stripe, dots. Did that again, and then sewed the long strips of fabric together, matching up the corners the best I could.
I used 4 tarps (you can see the blue poking though in the picture) and sewed them together, ensuring the eyelets were upward.
I laid the tarps down, then the fabric over top, and hand sewed long ribbons on to the fabric where each of the eyelets are. I can then remove the fabric whenever I want to, to clean it. We used tent pegs to peg the tarps down, so the kids didn't slide all over the place.
It was lovely to see them all in their party outfits playing on the blanket.
COMMEMORATIVE BEARS

While I was at the craft shop, I saw some calico bears that were on sale, and I almost had a heart attack.
With the left over fabric, I made some bows, and stitched them on. Each guest signed the teddy and now the Twins will have them to look at forever!
Do yourself a favour and use a laundry marker, not a permanent marker. The laundry marker wont bleed into the fabric, which results in a nicer signature.
TEDDY BEAR CAKES

I was lucky enough to win a
Cake 2 The Rescue twin cake kit! These kits come with "husband proof" baking instructions, and everything you need, except a mixer, oven, a bit of time and some spoon lickers.
They are really fantastic and if you're in a bind, they send them out very very quickly. They also taste really great!
DECORATIONS

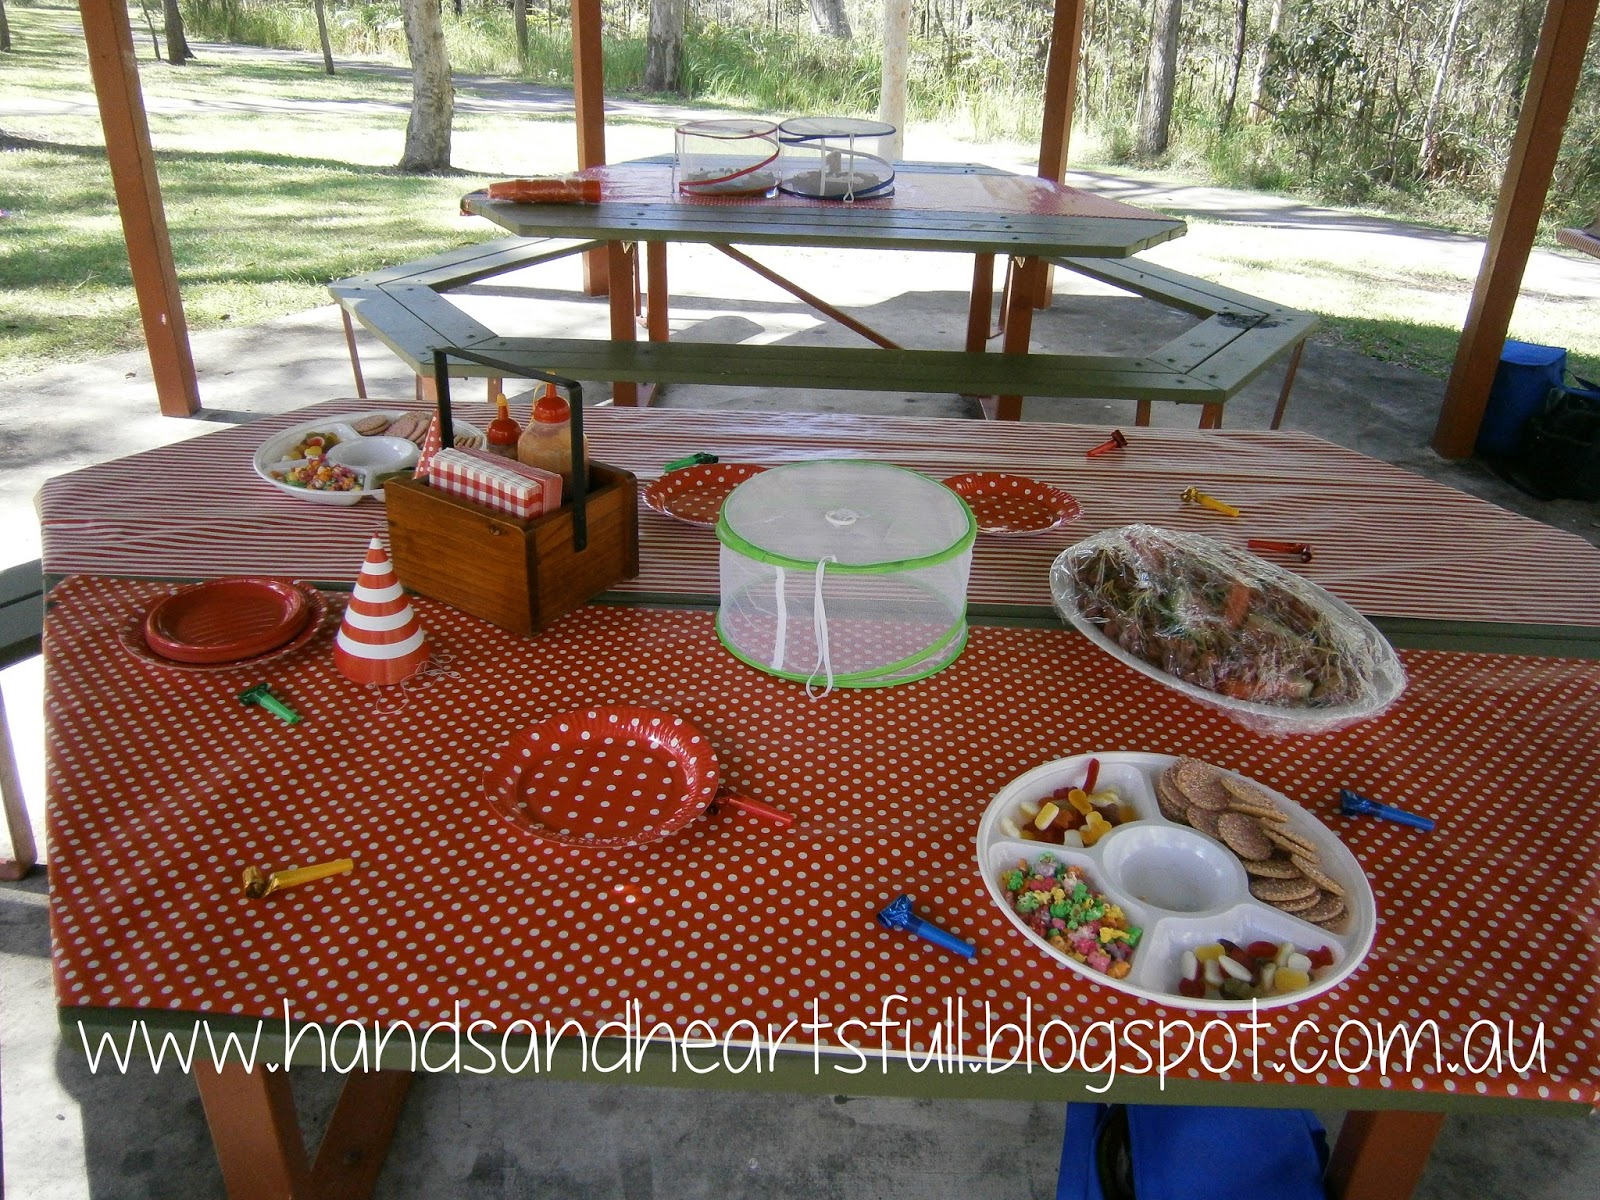
I was lucky enough to find some bargains at my local $2 shop. Rolls of gift wrap in the same patterns as the picnic blanket and some plates, party bags, and napkins too! I used the gift wrap on the park tables to make them look prettier, and the kids love the polka dot plates and party bags.
PULL STRING PINATA

My Aunt Sandra is the Queen of Pinata making in my family, so naturally, I asked if she could make one. Because there were mostly little kids, we saw an awesome idea on
Pinterest about a pull string Pinata!
For this one, she made teddy bears from paper mache and used a box to hold the treats. Before assembly she cut a flap on the bottom of the box. She then poked lots of holes into the flap. She threaded one string through (near the open part of the flap) and secured it with duct tape which would open the flap when pulled on. Then, she threaded the string though the holes, and tied a small knot into the string of each, so that there was some resistance, and the strings didn't fall though. She secured the bottom with masking tape, and painted the box. Next she filled it with treats, and stuck the bears onto it.
The kids really enjoyed this, and no sticks to wave around!
Of course there was pass-the-parcel and we went on a bear hunt.
Another fantastic idea, one which I didn't get a photo of, was to label all of the guests teddies. My Mum made a little container containing string, a pen and some colour sample cards with holes punched in, and each time a guest came, she wrote out a card saying "This teddy belongs to_______" and tied it to the bear.
The kids liked this a lot.
You can find some other bits and pieces here including the sound track, invitations and more!
GO THERE NOW!
All in all, a great day was had. We did simple pizzas, party pies and sausage rolls, lollies, chips and popcorn for party food, as it was afternoon tea and really, the kids were more interested in playing.
Thanks to all who made this a success.
Happy Birthday Twinnie-Pops